 Custom wrap for seadoo RXP and RXPX 215 watercrafts
 Custom wrap for seadoo RXP and RXPX 215 watercrafts
DETAILS
This is an older design, from 2007
...
Send in images of your installed
graphics within two weeks of receipt
and you will be entered into the annual
kit giveaway. As a bonus, should you
damage any panels, you will also be
eligible to have them replaced at cost
during the first year, providing you
are the original owner. Be sure to check
out the Tips & Tricks page on the
website for installation help.
FITS
All early model RXP and RXPX 215HP.
...
VIDEO TUTORIAL
Install is quite simple and this graphics set should be applied 'wet'. You can use as much water as you like, specially in hot weather as it will not affect the bond. Once you squeegee out the water and air, the graphic will be set. You can ride the same day providing all edges are making full contact.
The following video tutorial is visually informative and recommended viewing before beginning the process. Notice that I even spray the top of the graphic while using the squeegee tool. This helps relieve friction in the process. Depending on the concentration, mix only 1 to 2 drop of dish-washing liquid to 1 cup water in a spritz bottle.
WAXING

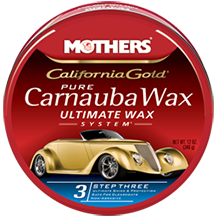
If your as fussy as I am, you'll always want your graphics to look like new, not to mention your ski. I highly recommend using Mother's Wax paste to keep everything looking fresh. In fact, I have been applying it on my skis and over the graphics for several years and keeps everything looking brand new. And for those of you using the GoPro, you might want to polish up that case and lens cover before heading out as it keeps the water off and you'll get more clear footage to edit from. Works for me. Give it a try!
